Editing Images
Inserting images to the PDF document
To insert a new image to the document, click the Insert Image ![]() button on the toolbar or use the Edit > Insert Image menu command or press Ctrl+I.
button on the toolbar or use the Edit > Insert Image menu command or press Ctrl+I.
The mouse cursor will change to the crosshair. Click where you want to place the image. The Open Image window will show. Browse for an image you want to insert and open it.
Master PDF Editor supports the following image formats: SVG, TIFF, JPEG, BMP, PNG and PPM.
Editing images
To edit an image in the PDF document, select it using the Edit Document ![]() tool or the Edit Image
tool or the Edit Image ![]() tool. Then click the image object you want to modify.
tool. Then click the image object you want to modify.
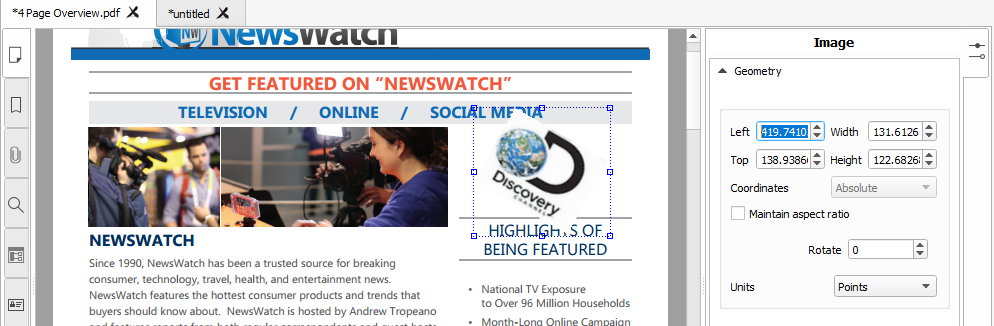
Moving and resizing
An image object can be moved and resized just like any other PDF object. Please refer to this section to learn how to move and resize objects.
Resizing an image does not accordingly resize its clipping path which may result in the resized image looking like this:

To make it fill the entire area, you need to remove the clipping path. Open the Object Inspector panel by clicking its button in the right-side panel or pressing Ctrl+F11. Open the Clipping Path section and click the Remove button.

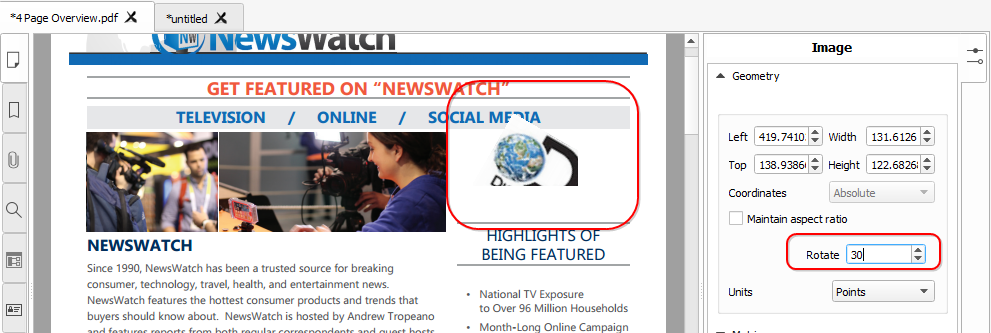
Rotating images
To rotate an image on the page, select it and specify the rotation angle in the Object Inspector panel or use the Rotation handle ![]() as described in the Rotating objects section.
as described in the Rotating objects section.
Rotating an image does not accordingly resize its clipping path, so you may end up with the rotated image not fitting the clipping path as shown below:
To fix this, remove the clipping path in the Clipping Path section of Object Inspector.
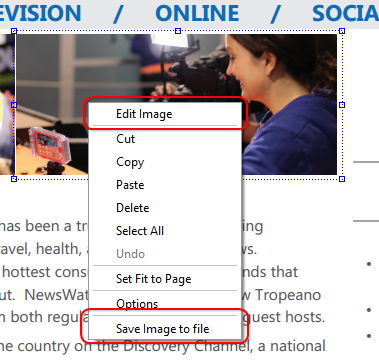
External editing
You can edit an image in a third-party application by right-clicking it and selecting Edit Image item in the context menu. This will launch the associated application and the image will be opened for editing there.
You can also save image to a file to open that file later in some other application. Right-click the image and select Save Image to File menu item.
More like this:
Editing Objects in the PDF Document