Batch Signature
When it is necessary to sign multiple documents at once, the batch signature can be used. Batch signing can help to save time and increase efficiency when it is needed to sign a large number of similar documents.
![]() Master PDF Editor does not provide any digital certificates. Please acquire a certificate from a Certificate Authority or create a self-signed certificate yourself before signing documents. You can read more information about digital certificates here.
Master PDF Editor does not provide any digital certificates. Please acquire a certificate from a Certificate Authority or create a self-signed certificate yourself before signing documents. You can read more information about digital certificates here.
To sign multiple documents:
- Select Forms > Batch Signature in the main menu. A dialog box for adding documents will appear.
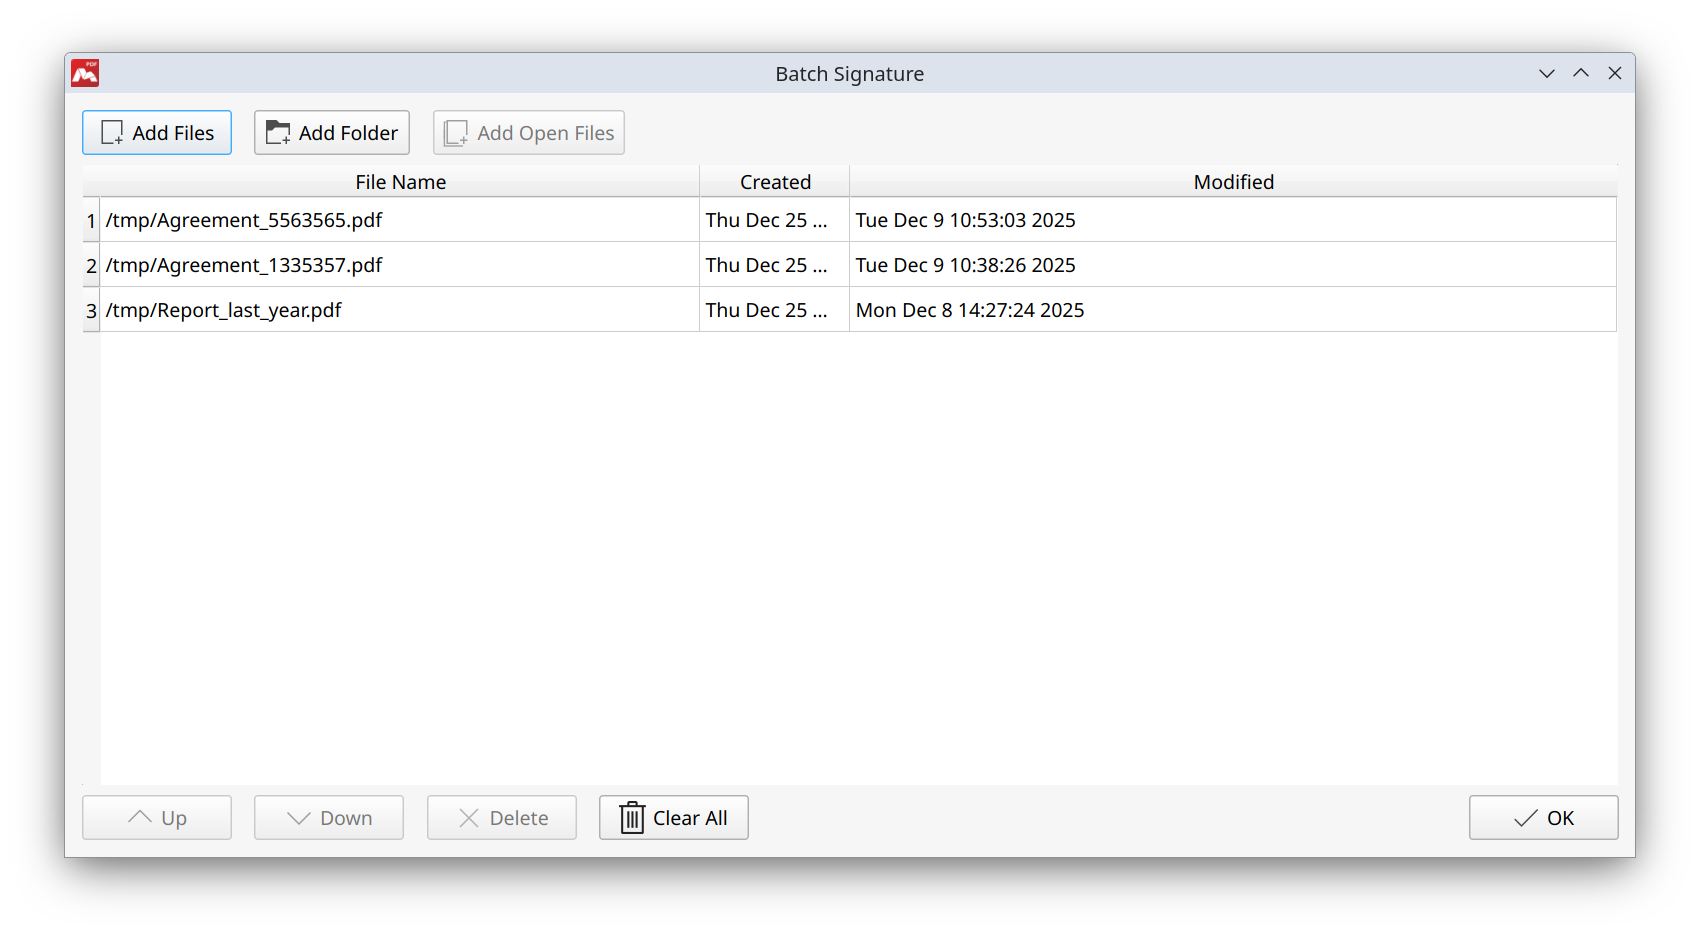
- Add documents to the list using one of the following options:
- Add Files. Add specific documents.
- Add Folder. Add all documents from the selected folder.
- Add Open Files. Add all documents already open in the program.
- If necessary, change the document order using Up and Down.
- To remove a document from the list, use Delete. To remove all documents from the list, use Clear All.
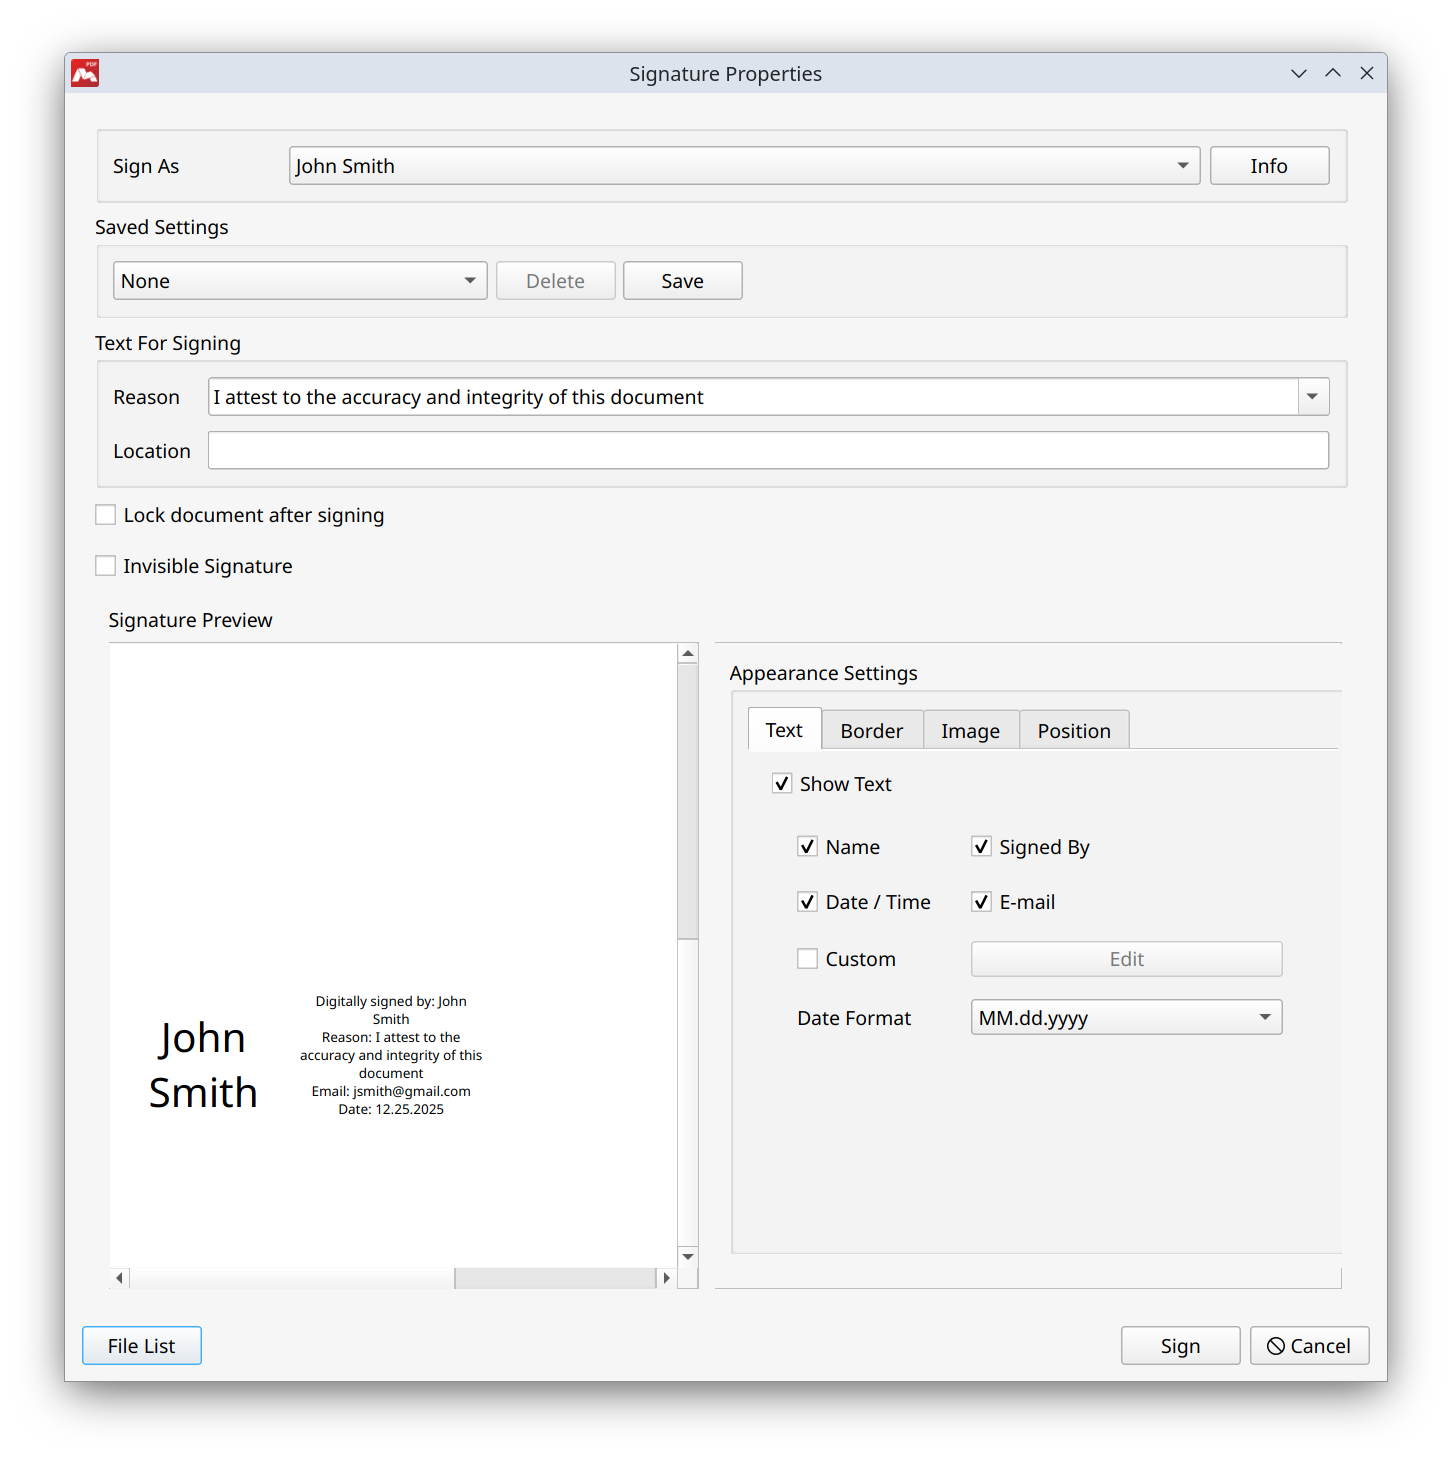
- Click OK to proceed to Signature Properties. In this window, select a certificate in Sign As.
![]() On macOS and Windows, the certificate must be first imported into the system certificate storage. On Linux, the certificate must be first imported into the Certificate Manager.
On macOS and Windows, the certificate must be first imported into the system certificate storage. On Linux, the certificate must be first imported into the Certificate Manager.
- Configure the remaining parameters if needed:
- Saved Settings. Select the previously saved settings.
- Reason. Choose one of the predefined reasons or specify your own.
- Location. Add information about the location.
- Lock document after signing. Prohibit changing the content of all forms after signing the document.
- Invisible Signature. Sign the selected documents with an invisible signature.
- Signature Preview. Display the visual appearance of the signature.
- Appearance Settings. Configure the visual style of the signature.
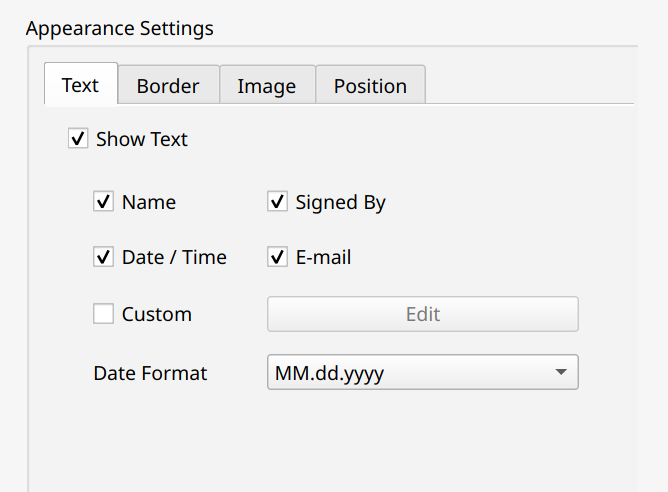
- Text.
- Show Text. Enable or disable test display. It is also possible to manage the display of fields such as Name, E-mail, Date / Time, and Signed By.
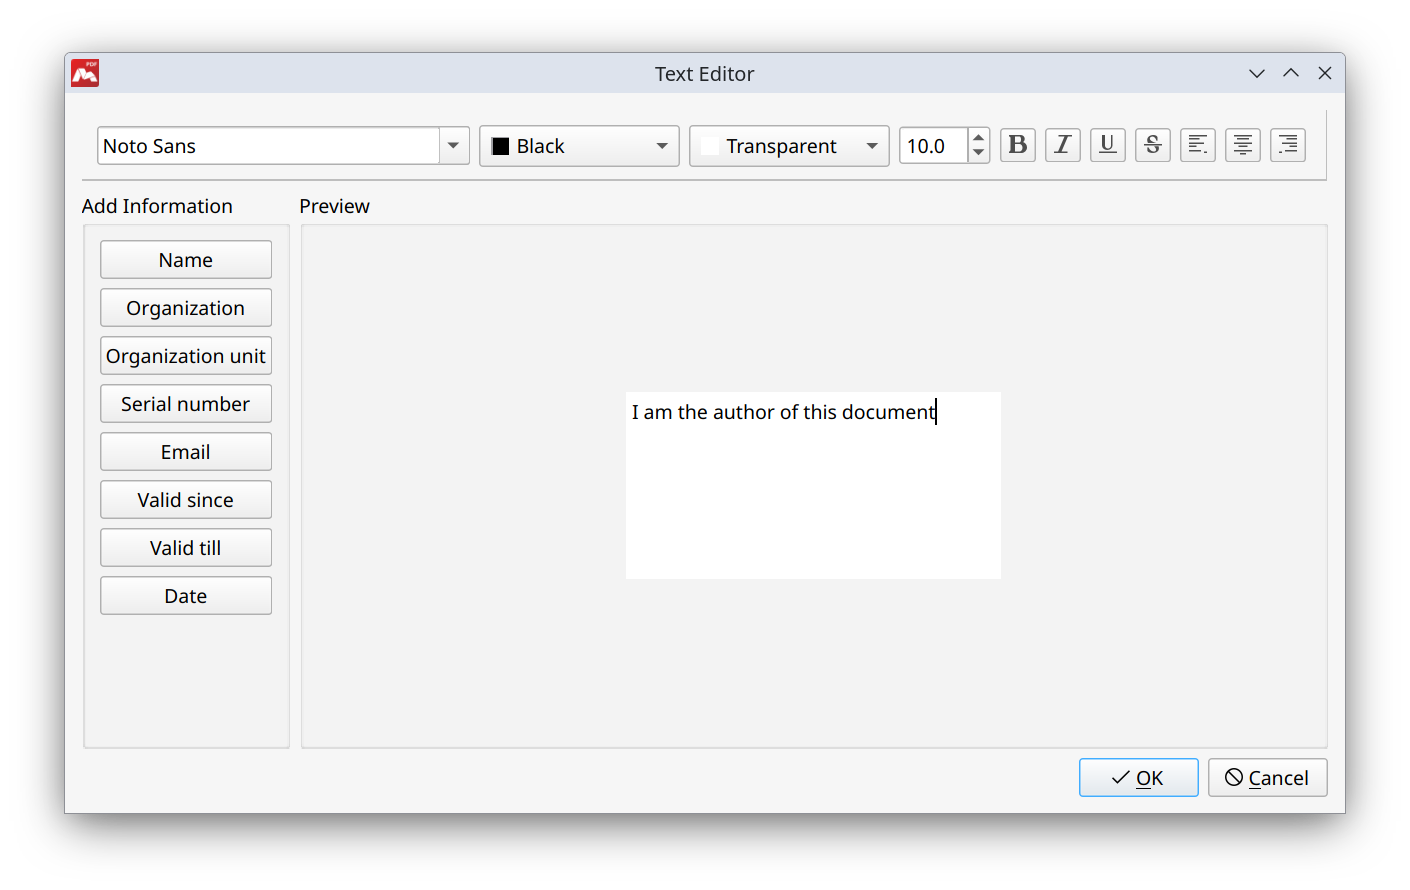
- Custom. Use arbitrary signature text by entering it in the corresponding field.
- Date Format. Change the format of the calendar date and time.
If you enable Custom, a Text Editor window will appear, allowing you to edit and format the signature text directly in Master PDF Editor.
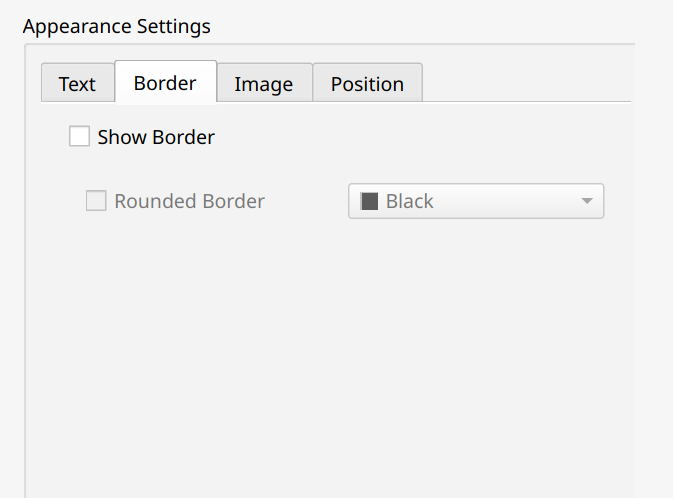
- Border.
- Show Border. Show or hide the signature border.
- Rounded Border. Round the corners of the signature border.
- Color. Select the border color.
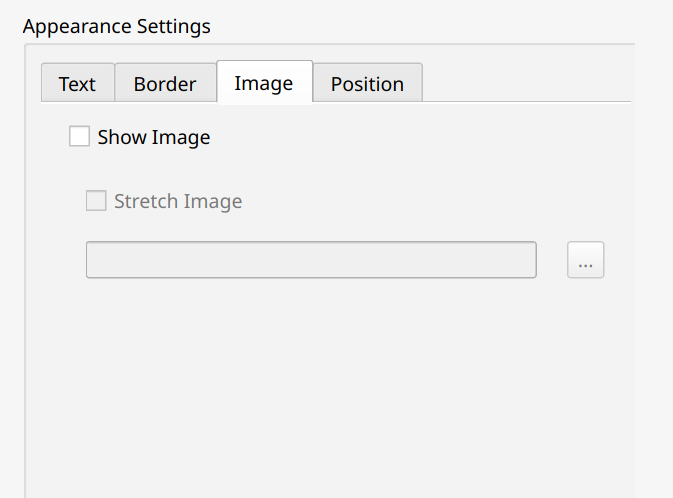
- Image.
- Show Image. Enable or disable the ability to add and display an image in the signature.
- Stretch Image. Display the image in full size.
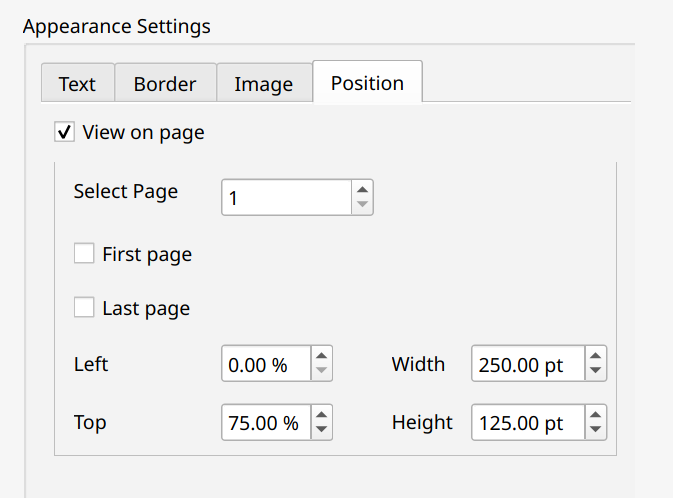
- Position.
- View on page. Preview the signature placement on the page.
- Select Page. Specify a page number or choose First page or Last page.
- Left. Set the horizontal position of the signature on the page.
- Top. Set the vertical position of the signature on the page.
- Width. Set the signature width.
- Height. Set the signature height.
- To modify the document list, click File List.
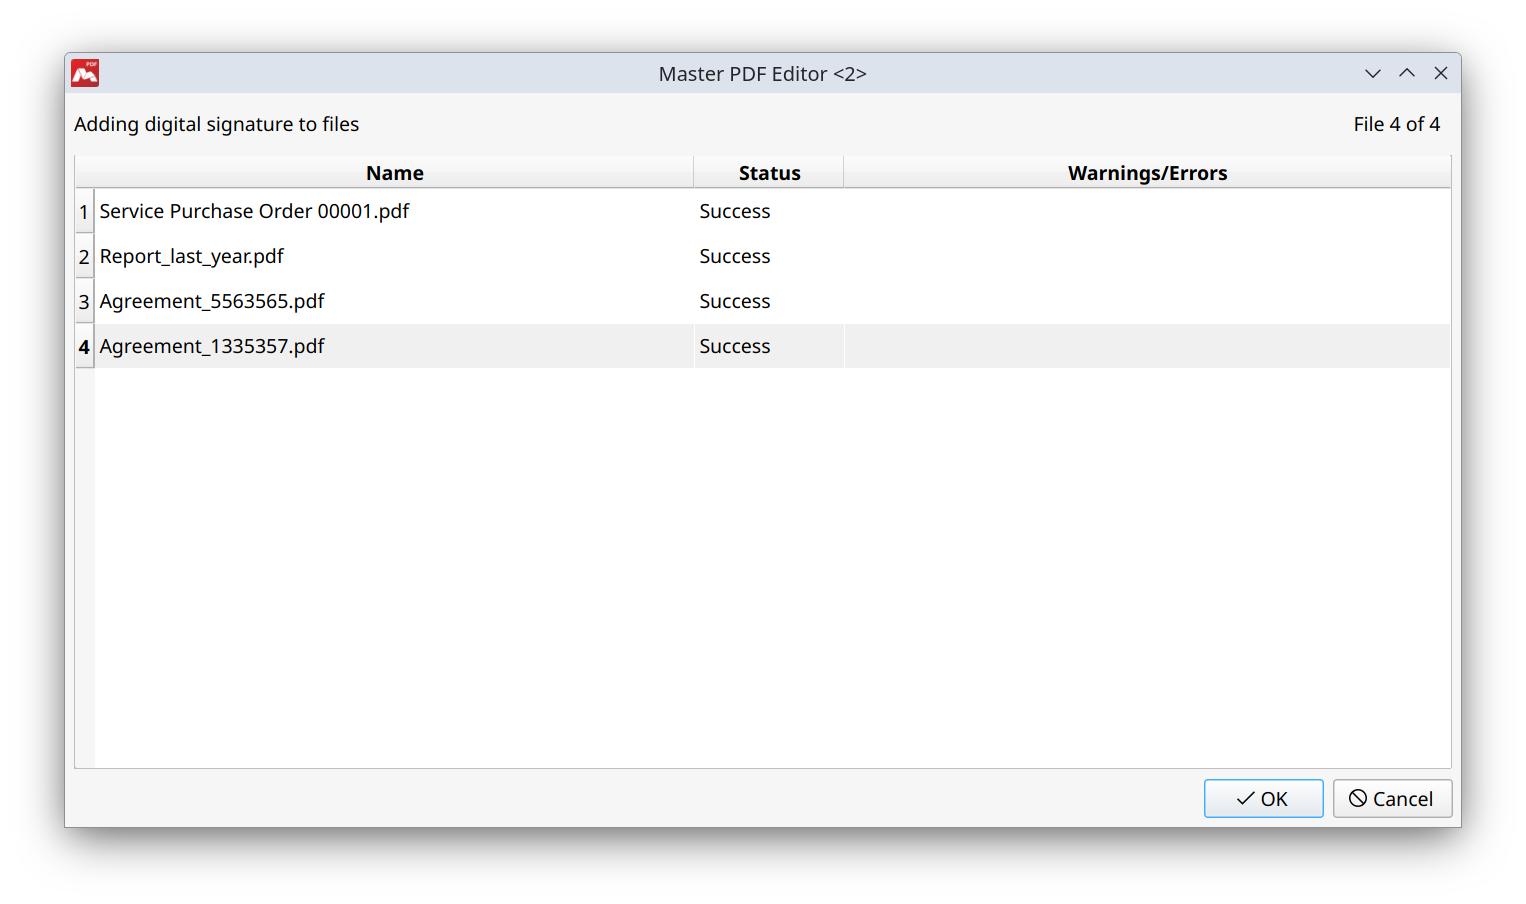
- Click Sign.
- A dialog box showing the signing status of the documents will open. Here you can verify whether each document was signed successfully.
![]() If a page has a non-standard size, the signature can be cropped or placed outside of the page boundaries.
If a page has a non-standard size, the signature can be cropped or placed outside of the page boundaries.
![]() Always sign the final version of a document after all editing is complete. Any modifications made after signing will invalidate the signature.
Always sign the final version of a document after all editing is complete. Any modifications made after signing will invalidate the signature.
![]() You can also enable the Strong verification of signatures parameter by selecting Tools > Settings, the Certificates tab in the main menu. This parameter invalidates all previous signatures when a new signature is added, even if no other changes were made in the document.
You can also enable the Strong verification of signatures parameter by selecting Tools > Settings, the Certificates tab in the main menu. This parameter invalidates all previous signatures when a new signature is added, even if no other changes were made in the document.
More like this:
Invisible signature
Signing the PDF document with a certificate
Certificate manager