Install and Uninstall ImagePrinter Pro
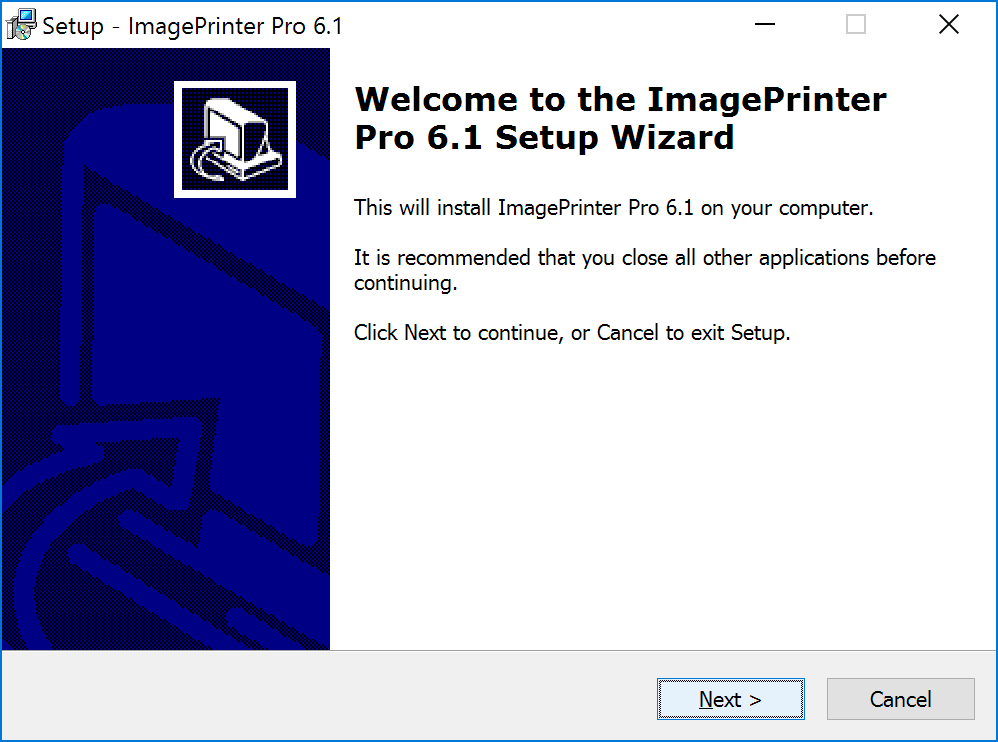
After the installer is downloaded, launch ImagePrinter Pro installation. A greetings window will appear. Press Next.
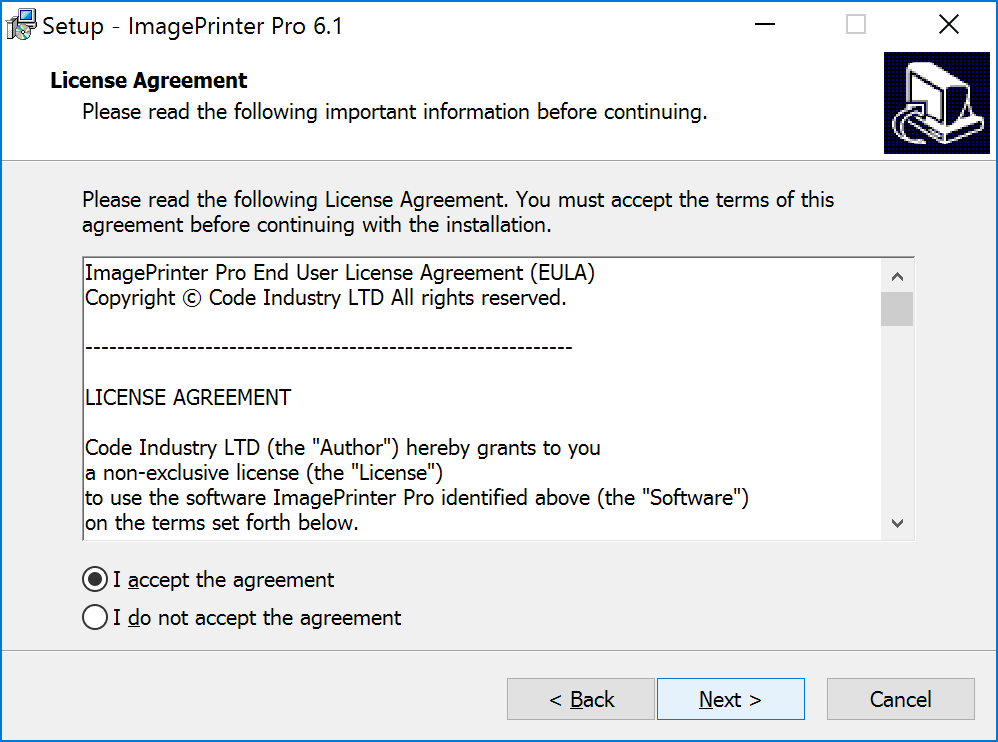
After you have read ImagePrinter Pro. License choose I accept the agreement and press Next. If you disagree with any of the agreement items, press Cancel.
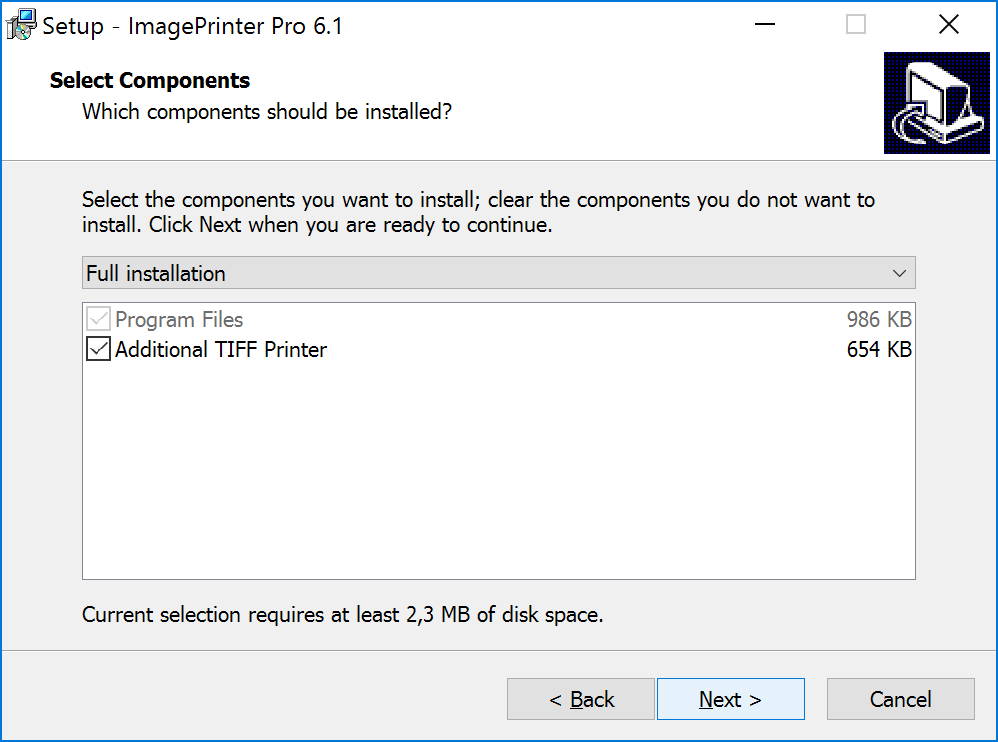
A full installation including TIFF Printer is performed by default. If you do not require TIFF Printer installation, uncheck corresponding item and press Next.
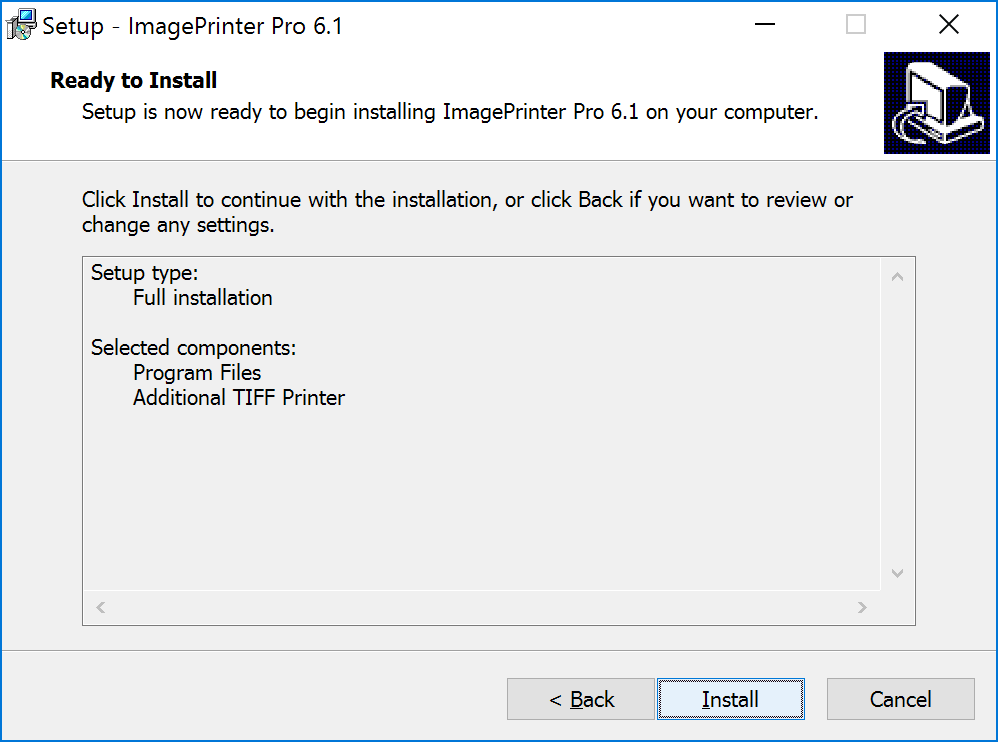
In the appeared window double-check installation options and press Install.
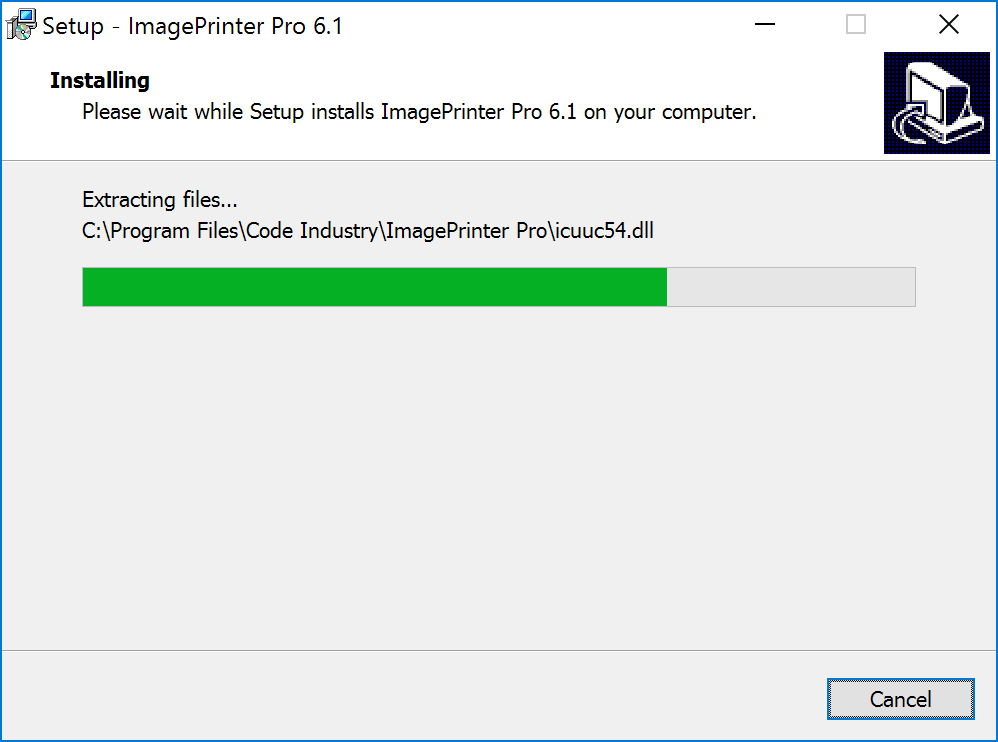
Progress bar reflects installation process. This should take less than a minute.
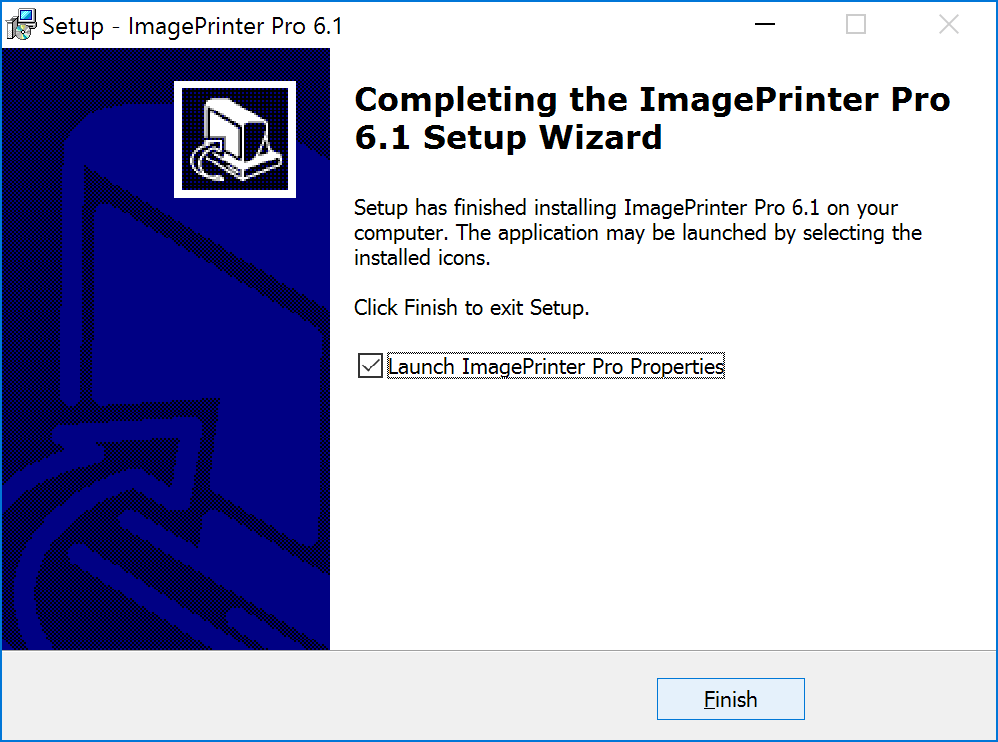
After ImagePrinter Pro is installed a dialog window will notify you about this. Press Finish button and ImagePrinter Pro Properties will be launched on your PC.
If you do not want ImagePrinter Pro properties to launch right after the installation, uncheck Launch ImagePrinter Pro Properties item.
Silent Installation
After you have read license agreement and accepted all of its items, you can use silent installation of ImagePrinter Pro. When installing in this mode, no dialog windows appear and no consent from user is required on any installation stages.
Command line parameters for installation in silent mode: Installation file path/ImagePrinterPro-setup.exe /verysilent
Uninstall ImagePrinter Pro
Open Control Panel > Programs to uninstall ImagePrinter Pro.
Choose it from the list and click uninstall button.
Then it will be uninstalled automatically.