Installing ImagePrinter Pro in the Network
Using ImagePrinter Pro as network printer noticeably increases its efficiency and allows for remote usage by multiple users. ImagePrinter Pro on your server enables you to process large volumes of multipage documents, bug digital images and blueprints.
Setup ImagePrinter Pro on server.
- Install ImagePrinter Pro on server.
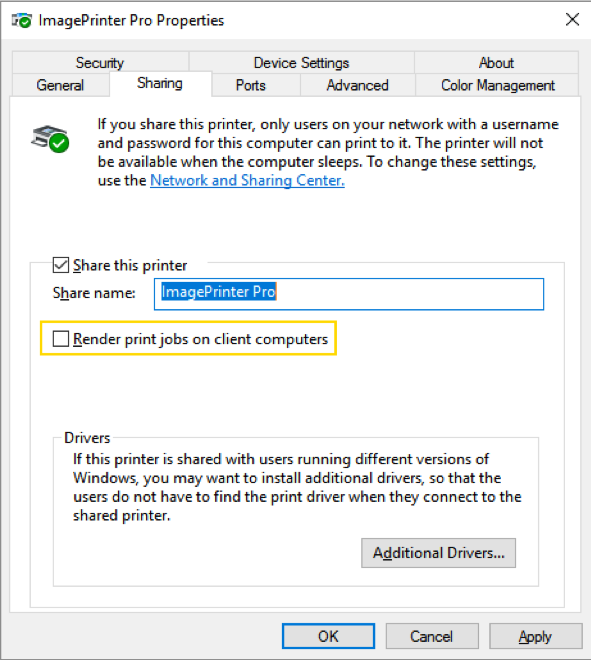
- After the installation is complete, open Control Panel\Hardware and Sound\Devices and Printers. In the dialog window right click ImagePrinter Pro and choose Printer properties in the context menu.
- In the Sharing tab enable Share this printer item.
- Uncheck Render something print jobs on client computers
- Press ОК.
In order to use ImagePrinter Pro on server system (Windows 2003 or Windows 2008, 2012…) it is required to purchase a special license, because workstation license cannot be used at this case.
Setup ImagePrinter Pro on workstation.
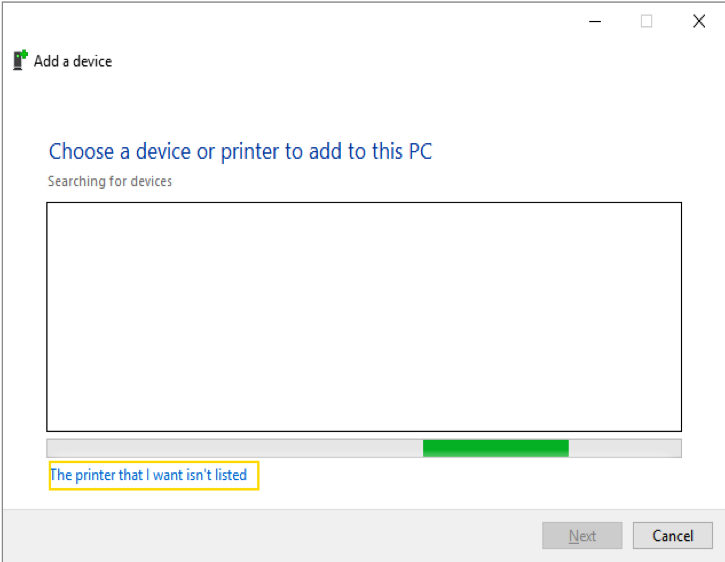
Open Control Panel\Hardware and Sound\Devices and Printers, choose Add Printer item. In the dialog window choose The printer that I want isn’t listed.
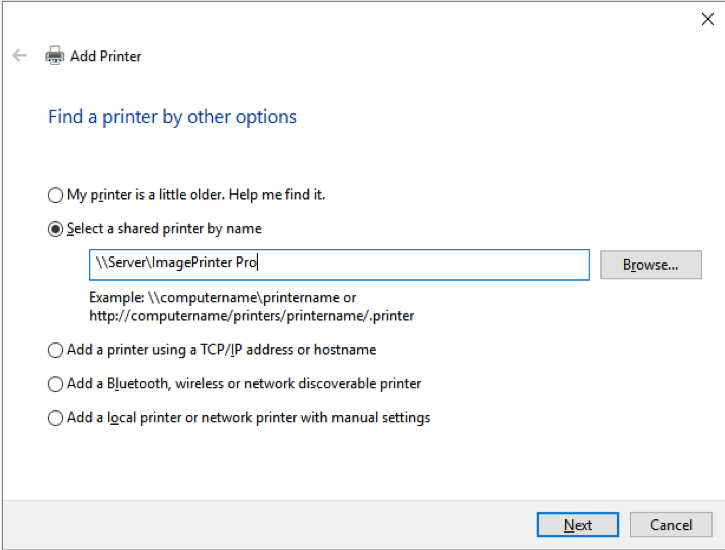
Specify network printer address in Choose shared printer item and press Next. Printer will be installed.
ImagePrinter Pro rules of usage when shared:
- Settings for all users must be enabled.
- Show dialog before print must be disabled.
- If Run application after printing is enabled, remember that the application will be run by SYSTEM user.
Rules of ImagePrinter Pro usage on workstation:
- If Settings for all users is disabled, you have to set up printer for each user.
- If Settings for all users is enabled, all users must have permissions to record into the folder where printed documents are saved.