Setting Up ImagePrinter Pro
In order to set up virtual printer and print documents to files do the following:
- Open document in any application, which supports printing (image viewer, text editor etc). Choose Printer Settings… item in File menu.
- Or open Control Panel / Devices and Printers and right click ImagePrinter Pro. Then right click ImagePrinter Pro and choose Printer properties in the context menu.
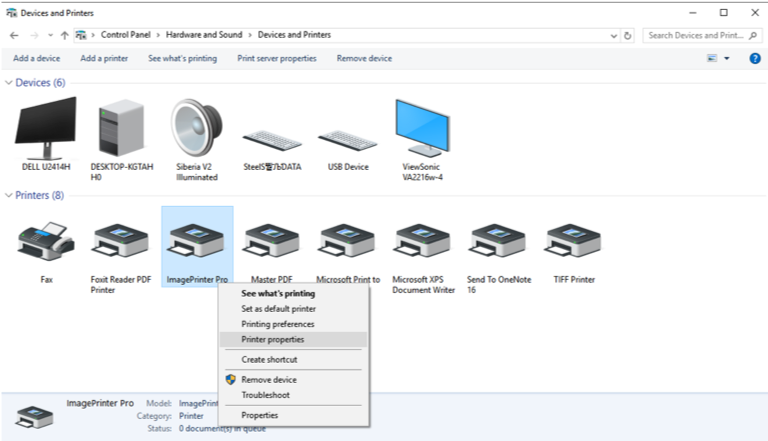
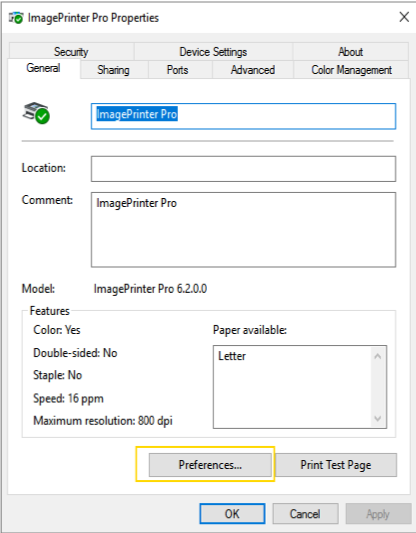
- Press Preferences… button on General tab.
In Print settings dialog window, you can set different printing options.
Layout tab. Choose number of pages on single sheet.

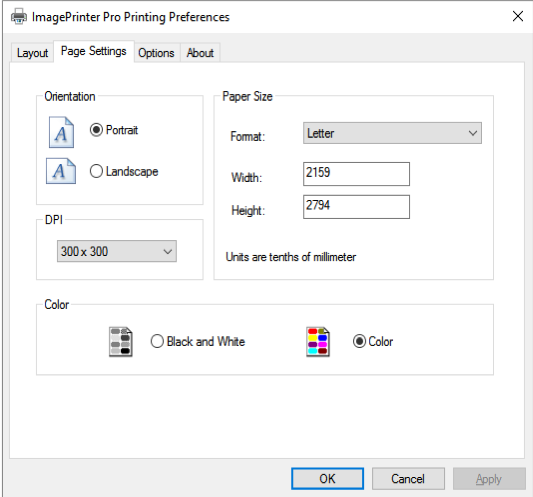
Page Settings tab. Choose page orientation and size, image resolution and printing color.
Options listed in the tab:
| Option | Description |
|---|---|
| Orientation | Choose page orientation: Portrait – vertical. Landscape – horizontal. |
| Paper Size | Choose default or custom paper size: Format list of default paper formats (including letters and cards). Set custom paper size: Width – page width. Height – page height. Measurement unit is tenth of millimeter. |
| DPI | Set resolution for printed images. |
| Color | Set printing color: Black and White – black and white (grayscale) printing. Color – color printing. |
When printing to PDF format do not use DPI 204/98 and 204/196 (fax only values), to avoid bad quality.
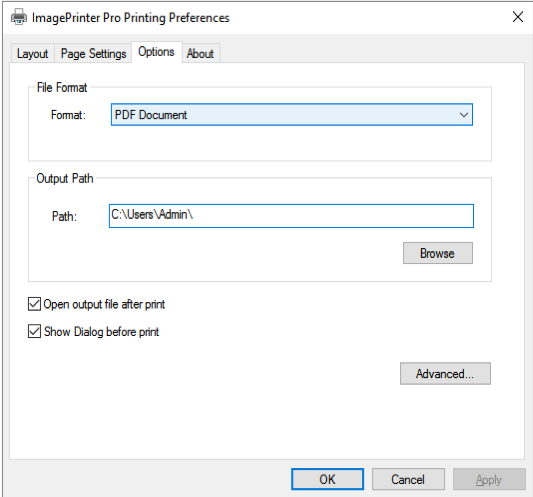
Options tab. Choose file format and path to save generated files. This tab is available for local printers only.
Options listed in the tab:
| Option | Description |
|---|---|
| File Format | Choose file format for generated files. |
| Output Path | Saving path for generated files. |
| Open output file after print | Check if you want to open output file right after printing. |
| Show dialog before print | Check to display a dialog window before printing. By default Save as… window is displayed. |
Press Advanced…button for extended settings.
About contains information about application version, activation tools and update checking.